Avatar Creator
Avatar Creator Documentation
For installation instructions and documentation for the other AVC tools, open the main documentation page .
For the cleanest workflow, start in an empty Blender file.
Avatar Creator is a modular character-building system for Blender. The normal workflow is: choose a starting body and face , generate the avatar , customize it through the dedicated modules, then either keep working in Blender, use AVC Sync with a compatible external character, or Finalize Avatar when the character is complete.
Most modules use the same pattern: open the section, choose a preset from the thumbnail browser, then refine it with the controls shown underneath. The curved-arrow button in a section restores that section to its default state.
1. Create the Avatar
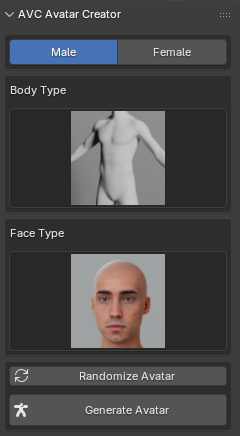
The first panel defines the character's starting point.
- Male / Female selects the avatar base.
- Body Type selects the initial body preset.
- Face Type selects the initial face preset.
- Randomize Avatar chooses a random body and face combination.
- Generate Avatar creates the character and opens the full customization interface.
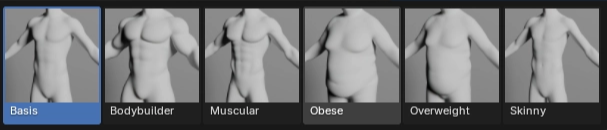
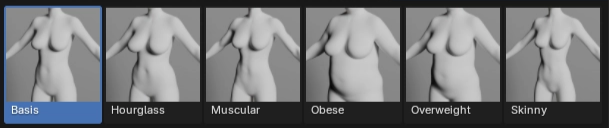
The selected body and face are only the starting point. After generation, every major area can be changed through presets, mixers, and sliders.
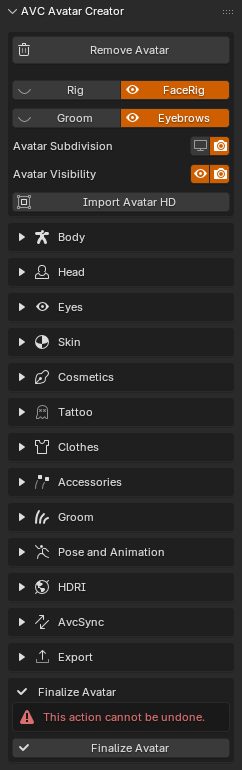
2. Main Character Controls
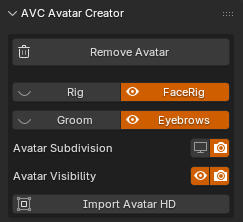
- Remove Avatar removes the current AVC character from the scene.
- Rig , FaceRig , Groom , and Eyebrows toggle the corresponding viewport elements.
- Avatar Subdivision controls subdivision display in the viewport and render.
- Avatar Visibility controls whether the avatar is visible in the viewport and render.
- Import Avatar HD adds the higher-detail version of the current avatar. Use it when the extra geometry is required, since it is heavier than the standard mesh.
3. Body
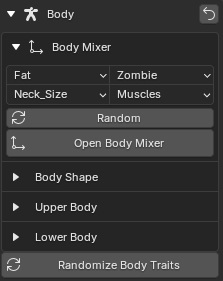
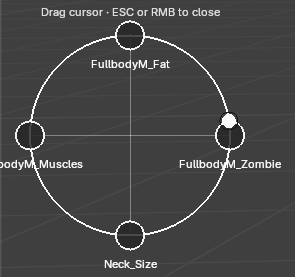
The Body module controls the overall proportions and individual body regions.
- Body Mixer combines up to four body traits. Choose the traits, click Open Body Mixer , and drag the central cursor toward the traits you want to emphasize. Press Esc or the right mouse button to close the mixer.
- Random inside the mixer selects four random traits for blending.
- Body Shape contains broad full-body variations.
- Upper Body contains controls for the torso, shoulders, arms, neck, and related areas.
- Lower Body contains controls for the hips, legs, and related areas.
- Randomize Body Traits randomizes the current body settings.
4. Head
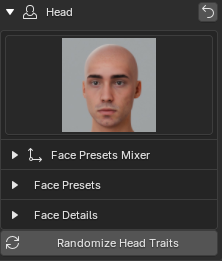
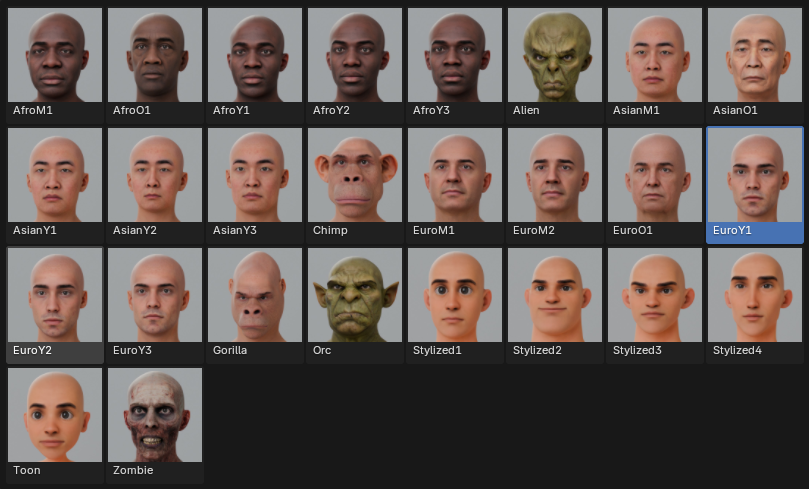
The Head module sets the character's identity and facial proportions.
- Click the main thumbnail to choose a head preset.
- Face Presets Mixer combines up to four face presets using the same drag-based mixer used for the body.
- Face Presets contains preset-based head and face controls.
- Face Details refines individual facial features.
- Randomize Head Traits randomizes the current head settings.
5. Eyes
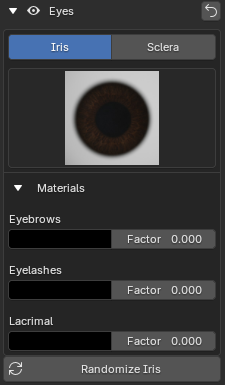
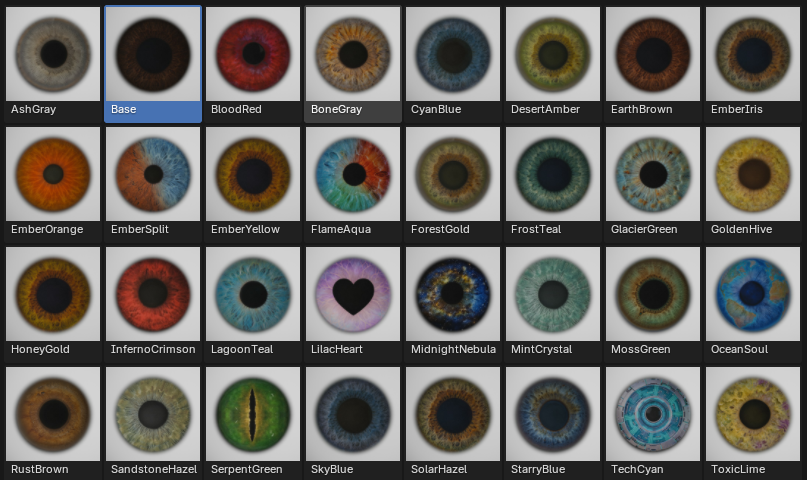
- Iris selects an iris preset.
- Sclera selects a sclera preset.
- Click the preview thumbnail to open the preset browser for the active mode.
- Materials adjusts related eye elements such as eyebrows, eyelashes, and lacrimal color blending.
- Randomize Iris or Randomize Sclera randomizes the active eye category.
6. Skin
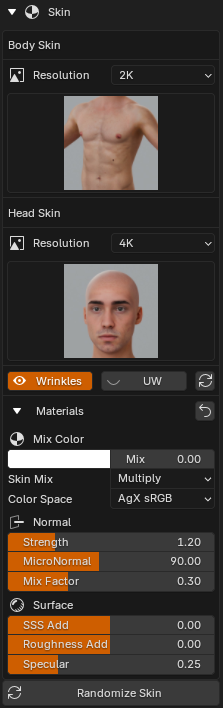
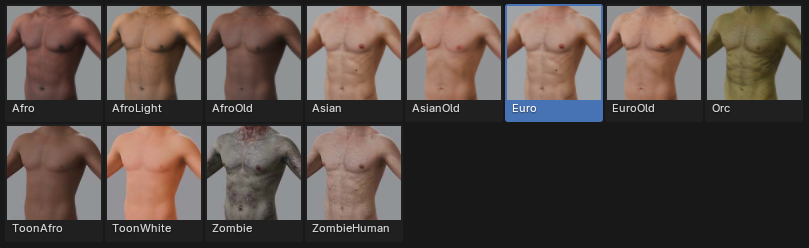
- Body Skin selects the body skin preset and texture resolution.
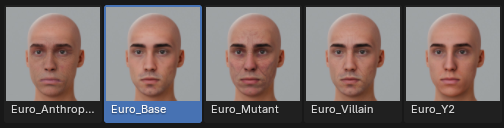
- Head Skin selects the head variant and texture resolution.
- Wrinkles enables or disables the wrinkle layer.
- UW toggles the underwear coverage layer when a modest skin presentation is required.
- Materials adjusts skin color blending, normal detail, SSS, roughness, and specular response.
- Randomize Skin chooses a random skin setup.
7. Cosmetics
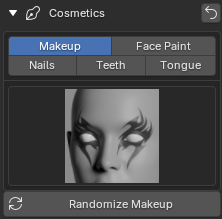
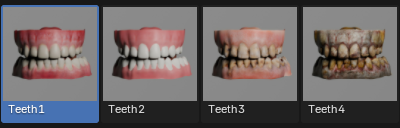
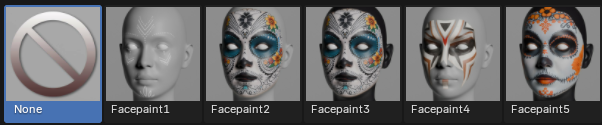
Choose a category, then click the preview thumbnail to select the preset.
- Makeup applies makeup presets.
- Face Paint applies face-paint presets.
- Nails changes the nail preset.
- Teeth changes the teeth appearance.
- Tongue changes the tongue appearance.
- Randomize Makeup randomizes the active makeup selection.
8. Tattoo
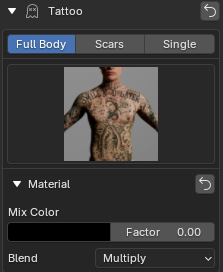
- Full Body selects large-coverage tattoo presets.
- Scars selects scar presets.
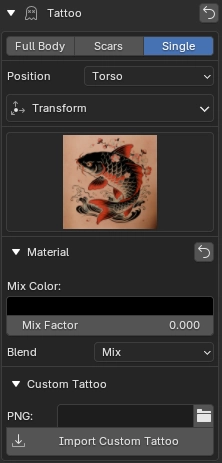
- Single selects a single tattoo for a chosen body area.
- Position selects Head, Torso, Arms, or Legs where supported.
- Transform moves, rotates, and scales the selected tattoo.
- Material controls color mixing and blend mode.
- Custom Tattoo imports a PNG image for the active tattoo slot.
9. Clothes
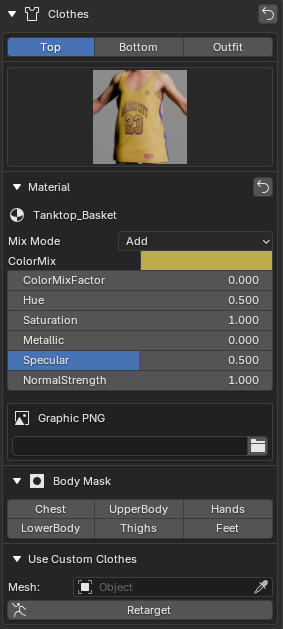
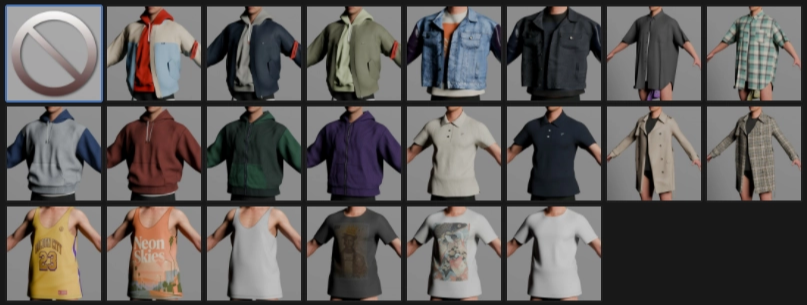
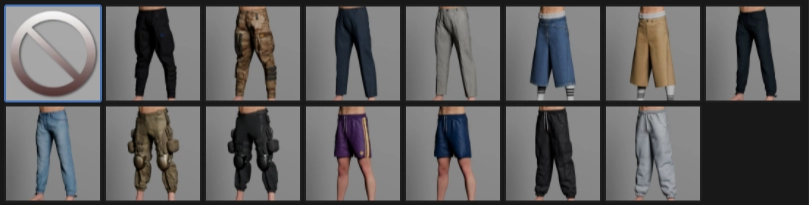
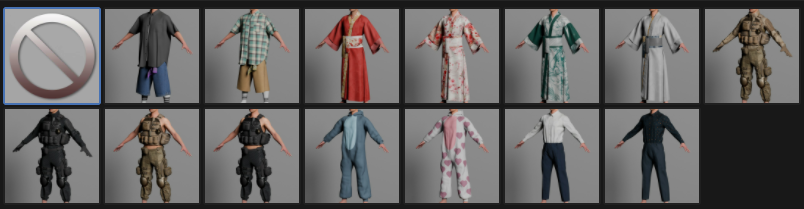
- Top , Bottom , and Outfit select the clothing category.
- Click the thumbnail to choose an item from the active category.
- Material adjusts color, hue, saturation, surface response, and normal strength for the selected garment.
- Graphic PNG applies a custom graphic or repeating design to the active garment material.
- Body Mask hides body areas covered by the garment. Presets normally configure this automatically, but the buttons can be adjusted manually.
- Use Custom Clothes assigns a clothing mesh already present in the Blender file. Select the mesh and click Retarget to fit it to the avatar and rig.
10. Accessories
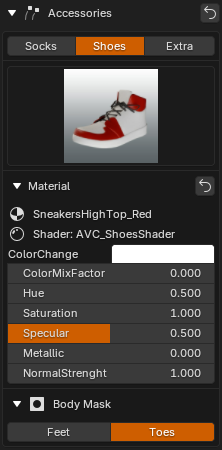
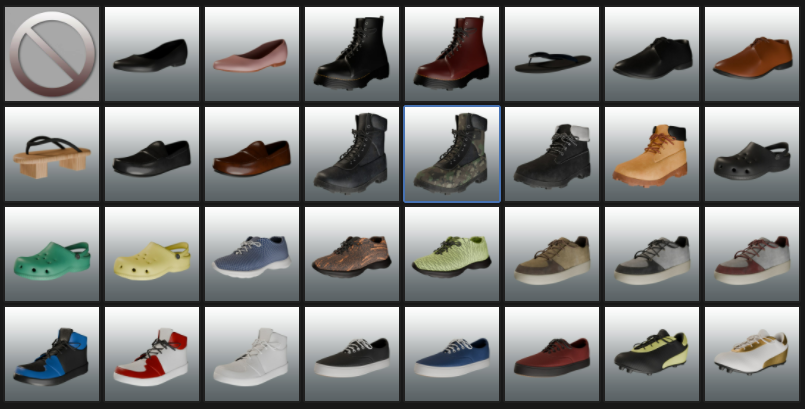
- Socks selects sock presets.
- Shoes selects shoe presets.
- Extra contains additional installed or custom accessories organized by body region.
- Material adjusts the active accessory's color and surface settings.
- Body Mask hides covered body areas, such as feet or toes inside footwear.
11. Groom
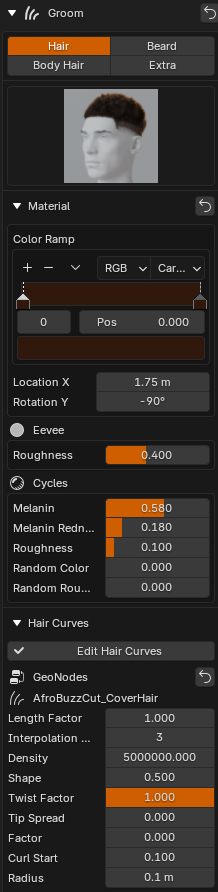
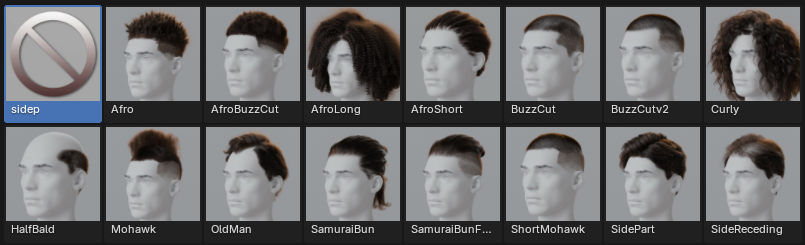
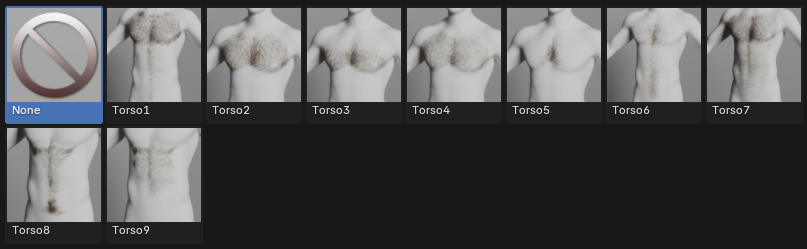
- Hair selects hairstyle presets.
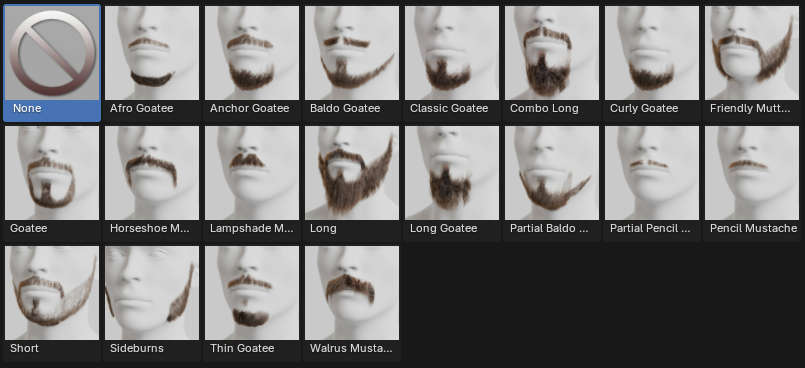
- Beard selects beard and moustache presets.
- Body Hair selects body-hair presets and the body zone where they are applied.
- Extra contains additional installed or custom groom assets.
- Material controls groom color and Eevee/Cycles shading.
- Edit Hair Curves prepares the selected groom for direct editing or sculpting of its curves.
- GeoNodes exposes practical controls such as length, interpolation, density, clump shape, twist, spread, curl, and radius.
12. Pose and Animation
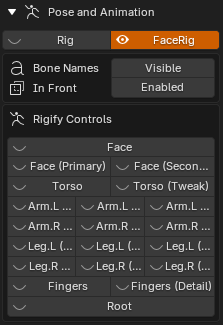
- Rig and FaceRig show or hide the body and face controls.
- Bone Names shows bone labels in the viewport.
- In Front keeps the rig visible through the character mesh.
- Rigify Controls shows or hides groups of controllers for the face, torso, arms, legs, fingers, and root.
Pose the character with the rig controls and insert Blender keyframes normally when creating an animation.
13. HDRI
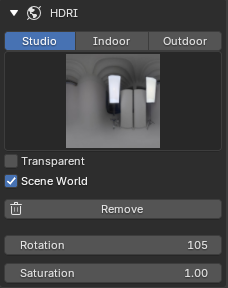

- Studio , Indoor , and Outdoor select the HDRI category.
- Click the thumbnail to choose an environment.
- Transparent makes the rendered world background transparent.
- Scene World controls whether the selected environment is used in the viewport.
- Remove removes the active HDRI.
- Rotation changes the lighting direction.
- Saturation changes the environment color intensity.
14. AVC Sync

AVC Sync transfers the current Avatar Creator body shape to a compatible external character while keeping that character's native topology, UV layout, and rig structure. Shape synchronization and texture export are separate operations.
Before you start
- Generate and finish the Avatar Creator shape you want to transfer.
- Import the compatible external character mesh into Blender.
- Keep the external mesh's original topology when you intend to return it to its native application as a morph.
Transfer the shape
- In Target Preset , choose the system that matches the imported mesh: MetaHuman, Genesis 9, CC4 Neutral Male/Female, or CC5 Neutral Male/Female.
- In Body Mesh , select the imported external mesh.
- Click SYNC . The selected external mesh receives the current AVC shape.
- Click RESET to restore the mesh to its state before the last Sync operation.
For MetaHuman, the head and body are separate objects. Run AVC Sync on the required object separately. AVC Sync handles the selected body mesh; separate eye and mouth objects are not repositioned by this panel.
Character Creator morph export
When a CC4 or CC5 preset is selected, an additional Character Creator Body Morph section appears. Select the original exported Source OBJ and its matching ObjKey , then click EXPORT BODY MORPH to create the morph file for Character Creator.
Export target-ready textures
- Choose a destination in Folder .
- Click EXPORT TEXTURES .
Avatar Creator identifies the skin and compatible cosmetic textures currently used by the AVC character, then exports the corresponding versions already adapted to the UV layout of the selected Target Preset. For example, a Genesis 9 target receives the Genesis 9 version of the active AVC skin rather than the original AVC UV texture.
Always select the correct Target Preset before running Sync or exporting textures.
15. Finalize Avatar
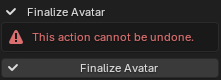
Use Finalize Avatar only when the character is complete and you no longer need Avatar Creator to manage it.
- The current shape-key values are applied to the AVC objects.
- Required rig and supported modifiers are kept.
- The objects and collections are renamed and organized as a finalized character.
- After finalization, the Avatar Creator interface no longer controls that character.
Finalization cannot be undone. Save a separate copy of the Blender file before continuing.